Structural Elements
To start working on the page we need to decide which elements should be used for each of the layout parts. HTML5 introduced a wide array of semantic elements. This means that instead of just using <div>s to contain different sections of the page, we can now use appropriate semantic tags, e.g., <section> or <article>. This makes it a lot easier for search engines and screen readers to figure out what's what in a page. It also makes styling much more straightforward and logical. When creating a page we should decide carefully the page structure and the elements that are appropriate for the different parts of the page.
To start with the implementation of the chosen layout we start with the header and the menu for which we are going to use a nav element, inside a header element. Go ahead an replace the contents of the body element in your simple-website/index.html file as shown in the code below. Remember that the dots [ • • • ] are there to indicate that there is more code above and/or below the code shown in the snippet. Please DO NOT copy the dots to your files. Additionally, lines with new code are highlighted in yellow, while existing code remains in white. The lines of old code give you a reference as to where to implement the changes. To make this type of changes to your code, use the THINK-Copy THINK-Paste approach as discussed in the lectures...!
|
1 2 3 4 5 6 7 8 9 10 11 12 13 14 15 16 17 18 19 20 21 22 23 24 25 26 |
dotdotdot </head> <body> <div class="container header"> <header> <h1>A Simple Website</h1> <p>Using HTML5 and CSS3</p> <nav> <ul> <li class="active"><a href="">Home</a></li> <li><a href="">Data Viewer</a></li> <li><a href="">Services</a></li> </ul> </nav> </header> </div> <section id="spacer"> <!-- Info Bar --> <p>Your source of geo-spatial information & services!</p> </section> </body> </html> |
Here we have specified the header elements in lines 8–9, then we have created menu elements in lines 10–16 for each of the pages of the site. Just below the
header section we have created the Spacer section 20–23 with, for now, a simple example message.
While a header element will frequently be placed at the top of a page or section, its definition is independent from its position. The site's layout might call for the title of an article or blog post to be off to the left, right, or even below the content; regardless, you can still use a header tag to describe this content.
The navigation is marked up using an unordered list (using the <ul> and <li> tags). The key is that this list is placed inside the nav tags, which we will later use to change the styling of the menu.
Thenavelement represents a section of a page that links to other pages or to parts within the page: a section with navigation links. Not all groups of links on a page need to be in anavelement—only sections that consist of major navigation blocks are appropriate for thenavelement.
The next step is to add the elements to create the Featured Content section. To that end we will use articles tags. To include the new elements, update the simple-website/index.html file as follows:
|
1 2 3 4 5 6 7 8 9 10 11 12 13 14 15 16 17 18 19 20 21 22 23 24 25 26 27 28 29 |
dotdotdot <section id="spacer"> <!-- Info Bar --> <p>Your source of geo-spatial information & services!</p> </section> <section id="featured_content"> <article> <a href=""> <img src="" alt="data viewer"/> <h3>Data Viewer</h3> <p>This will link to a page of data viewers.</p> </a> </article> <article> <a href=""> <img src="" alt="services"/> <h3>Services</h3> <p>This will link to a page of services.</p> </a> </article> <br class="clear"/> </section> </body> </html> |
We have included two article tags, each with the same internal structure. First an <a> link element, which will later be used to target the page corresponding to each featured content. For now the link target (href) is empty. Inside the link tag we have added a header <h3> and a paragraph <p> for a short description of the items. We also have two image tags <img> for a graphical icon of each item. We have not assigned any real images to these tags yet. Therefore for now, if the page is loaded, the browser will display the value of the alt attribute in place of the image.
The last part of the page is the Footer section, which presents general information about the author. Include the code below in the simple-website/index.html file to create the components of the Footer section.
|
1 2 3 4 5 6 7 8 9 10 11 12 13 14 15 16 17 18 19 20 21 22 23 24 25 26 27 |
dotdotdot </section> <footer> <!-- Footer content --> <section class="wrapper"> <article class="column"> <h4>About Me</h4> Some information about the author... </article> <article class="column midlist"> <h4>Email</h4> <a href="mailto:myemail@student.utwente.nl">myemail@student.utwente.nl</a> </article> <article class="column rightlist"> <h4>Socials</h4><a href="">A link to my socials.</a> </article> </section> <!-- Copyright notice --> <section id="copyright"> <div class="wrapper"> © Copyright 2024 by The Author </section> <!-- copyright --> </footer> </body> </html> |
We have already described different approaches to specify the structure of a section, which means you should now be able to understand what is happening in the HTML. Ask your supervisors for any clarifications if needed.
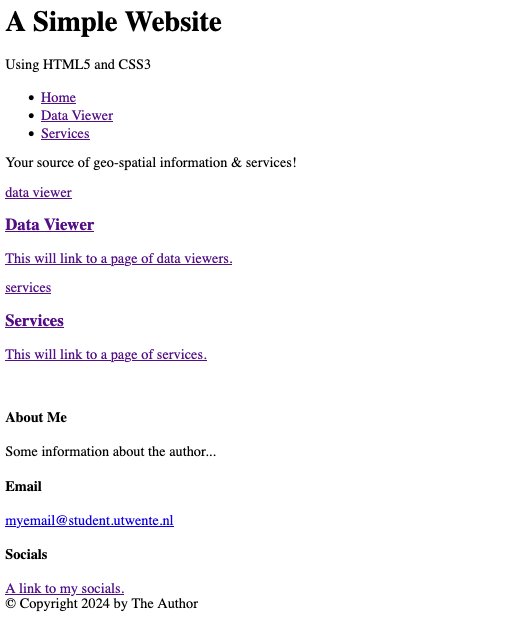
To see how the page shapes up, reload the page to see the current state, which should look something like the image in Figure 1.